Difference between revisions of "Military Transporter"
m (→Disable) |
|||
| Line 105: | Line 105: | ||
=== Disable === | === Disable === | ||
The offending reverse, and downward thruster traps can be disabled by either: | The offending reverse, and downward thruster traps can be disabled by either: | ||
| − | * Turning all 5 offending [[Small Thruster|Small Thrusters]] off from the [[Cockpit]] | + | * Turning all 5 offending [[Small Thruster|Small Thrusters]] off from the [[Cockpit]] (first 4 and the last) |
* Removing / Disabling the [[Small Thruster|Small Thrusters]] with a [[Grinder]] | * Removing / Disabling the [[Small Thruster|Small Thrusters]] with a [[Grinder]] | ||
Revision as of 06:19, 8 April 2014
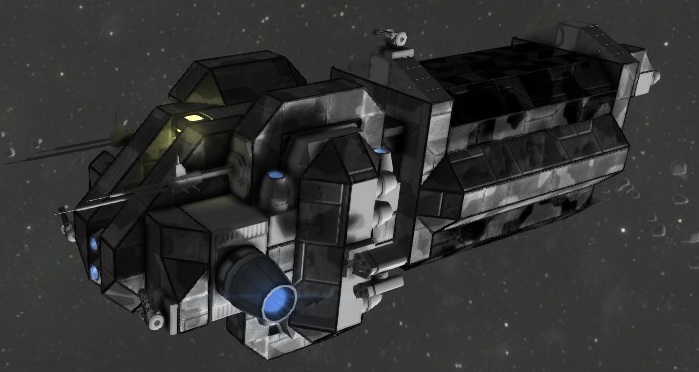
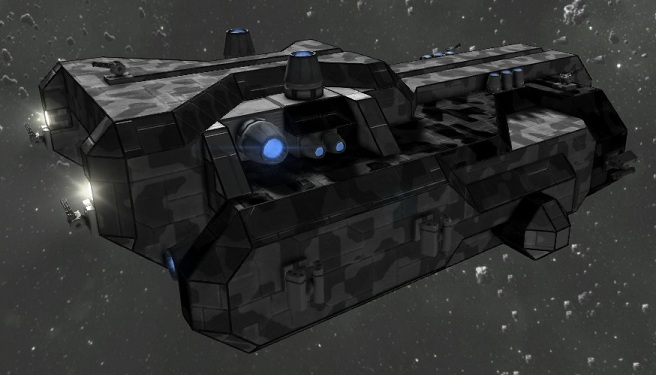
Military Transporter cargo ship
Contents
Defences
Anti Ship Defences
This is a military ship, so it's no surprise that it's heavily guarded.
- 3 Gatling Turret on top
- 1 Gatling Turret, and 1 Missile Turret the bottom
- 2 Gatling Turrets on the front
- 2 Gatling Turrets on the rear, and
- 3 Missile Turrets on each side
Anti Personnel Defences
There are 9 Interior Turrets somewhat evenly spaced throughout the entire ship's interior.
However, there is a way to get to the Cockpit without confronting one (see "Tactics" below)
Trap
Reverse = Boom
|
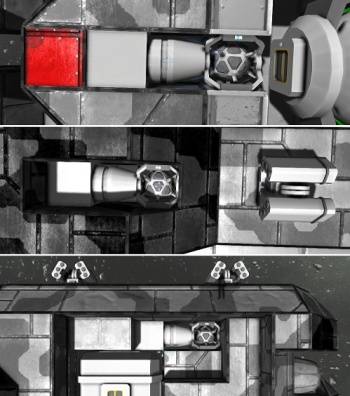
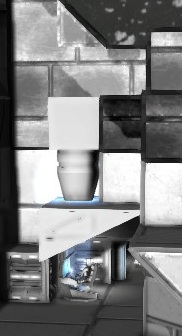
This ship has 4 Warheads each with a dedicated Small Thruster to detonate it when reverse thrust is fired. The image to the left shows a close-up of each trigger, which can also be seen on the overall map (linked on the right). In the order shown in the left image: Rear Trigger Front Trigger Right Trigger Left Trigger (not shown) |
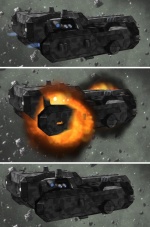
If the warheads are detonated there won't be much left of the ship to salvage (shown to the right)
despite the ship's exterior remaining mostly intact, all the good stuff inside will be blown up, and you'll only be left with heavy armor blocks
Amongst the valuables destroyed will be: 3 Large Cargo Containers, 1 Large Reactor, and at least 2 Large Thrusters
Up = Cooked Pilot
|
This cargo ship has another nasty surprise, there is a downward facing Small Thruster pointed directly at the Cockpit.
With only needing to use the Grinder on 2 blocks (a Small Thruster, and a Ramp) |
Tactics
Approach
As of v1.23 (list), the Gatling Turrets and Missile Turrets aren't functioning.
So at this time, approach tactics are unclear.
Attack
As of v1.23 (list), the Gatling Turrets and Missile Turrets aren't functioning.
So at this time, attack tactics are unclear.
But one thing is clear, avoid shooting the explosives
Entry
This ship has many ramps inside, but it can most simply be described as having 2 levels.
Without using the grinder (or damage from an attack), the only way to enter the ship is through the front door (shown by white curved arrows on the right of the Upper Level image below
Grind Through the Top At this point, it seems the most logical way to access this ship's Cockpit is as a by-product of disabling the downward thruster that cooks the Cockpit (see "Trap" section above for details)
Upper Level
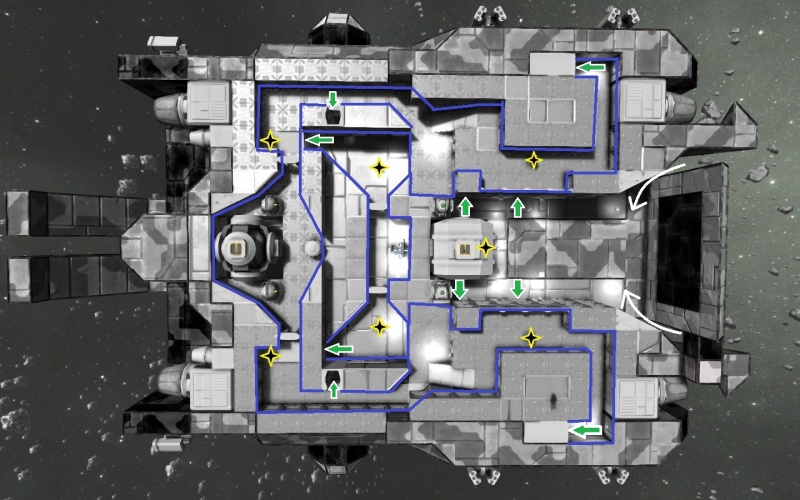
The upper level can be accessed directly through gaps in the sides of a large door made from white and black Heavy Armor Blocks (indicated by white curved arrows).
Straight ahead is a Large Cargo Container protected by an Interior Turret
Entry to the lower level can be accessed by using any of the 4 doors in this area, the rest can be read from the maps.
Using this method, you must encounter at least 3 Interior Turrets to reach the Cockpit, so I don't recommend it.
Lower Level
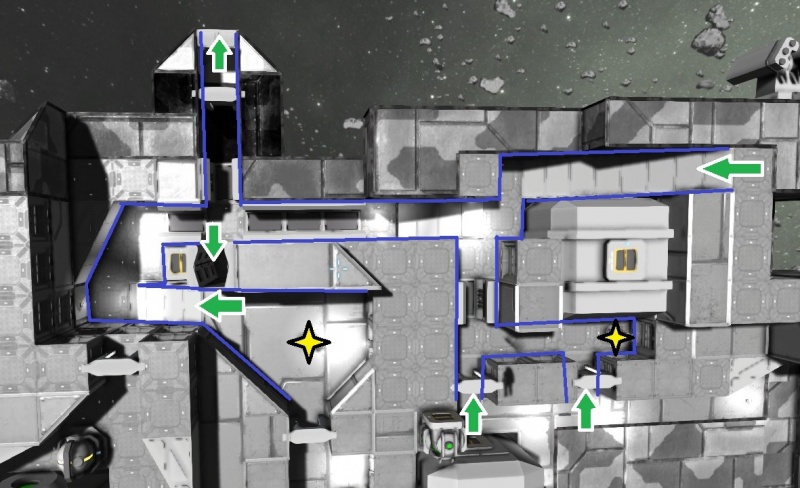
The lower level can be accessed by using a Grinder on the shp's left or right-most Steel Catwalk panel (on the end of those things that look like wheels)
If entering on the ship's left side using this method, take the first right, go up the ramp, and you'll get shot in the face by an Interior Turret. But, then you'll find the ship's Cockpit
Disable
The offending reverse, and downward thruster traps can be disabled by either:
- Turning all 5 offending Small Thrusters off from the Cockpit (first 4 and the last)
- Removing / Disabling the Small Thrusters with a Grinder
Access to each thruster is described in the "Trap" section above
When you can access the thrusters, use the Grinder on the Small Thrusters, at least until it is disabled, then you're ready to go.
Alternatively, if you're in a hurry, you can manoeuvre the ship to where you need it by only applying thrust in a forward direction.
This will mean that you need to point the ship away from your destination before you switch on the dampeners.
Salvage
Cargo Containers:
Each of the 3 large cargo containers can easily be raided.
Reactors:
There are 2 small reactors, and 1 Large Reactor
Ship Composition:
Thrusters / Gyros:
Reactor(s):
Other:
